How to Plan Glass Fence Layout for Irregular Lots
Plan glass fence layout for irregular lots with accurate spacing and smart design tips. Get guidance from INFINITYGLASS™ and request help for your project.
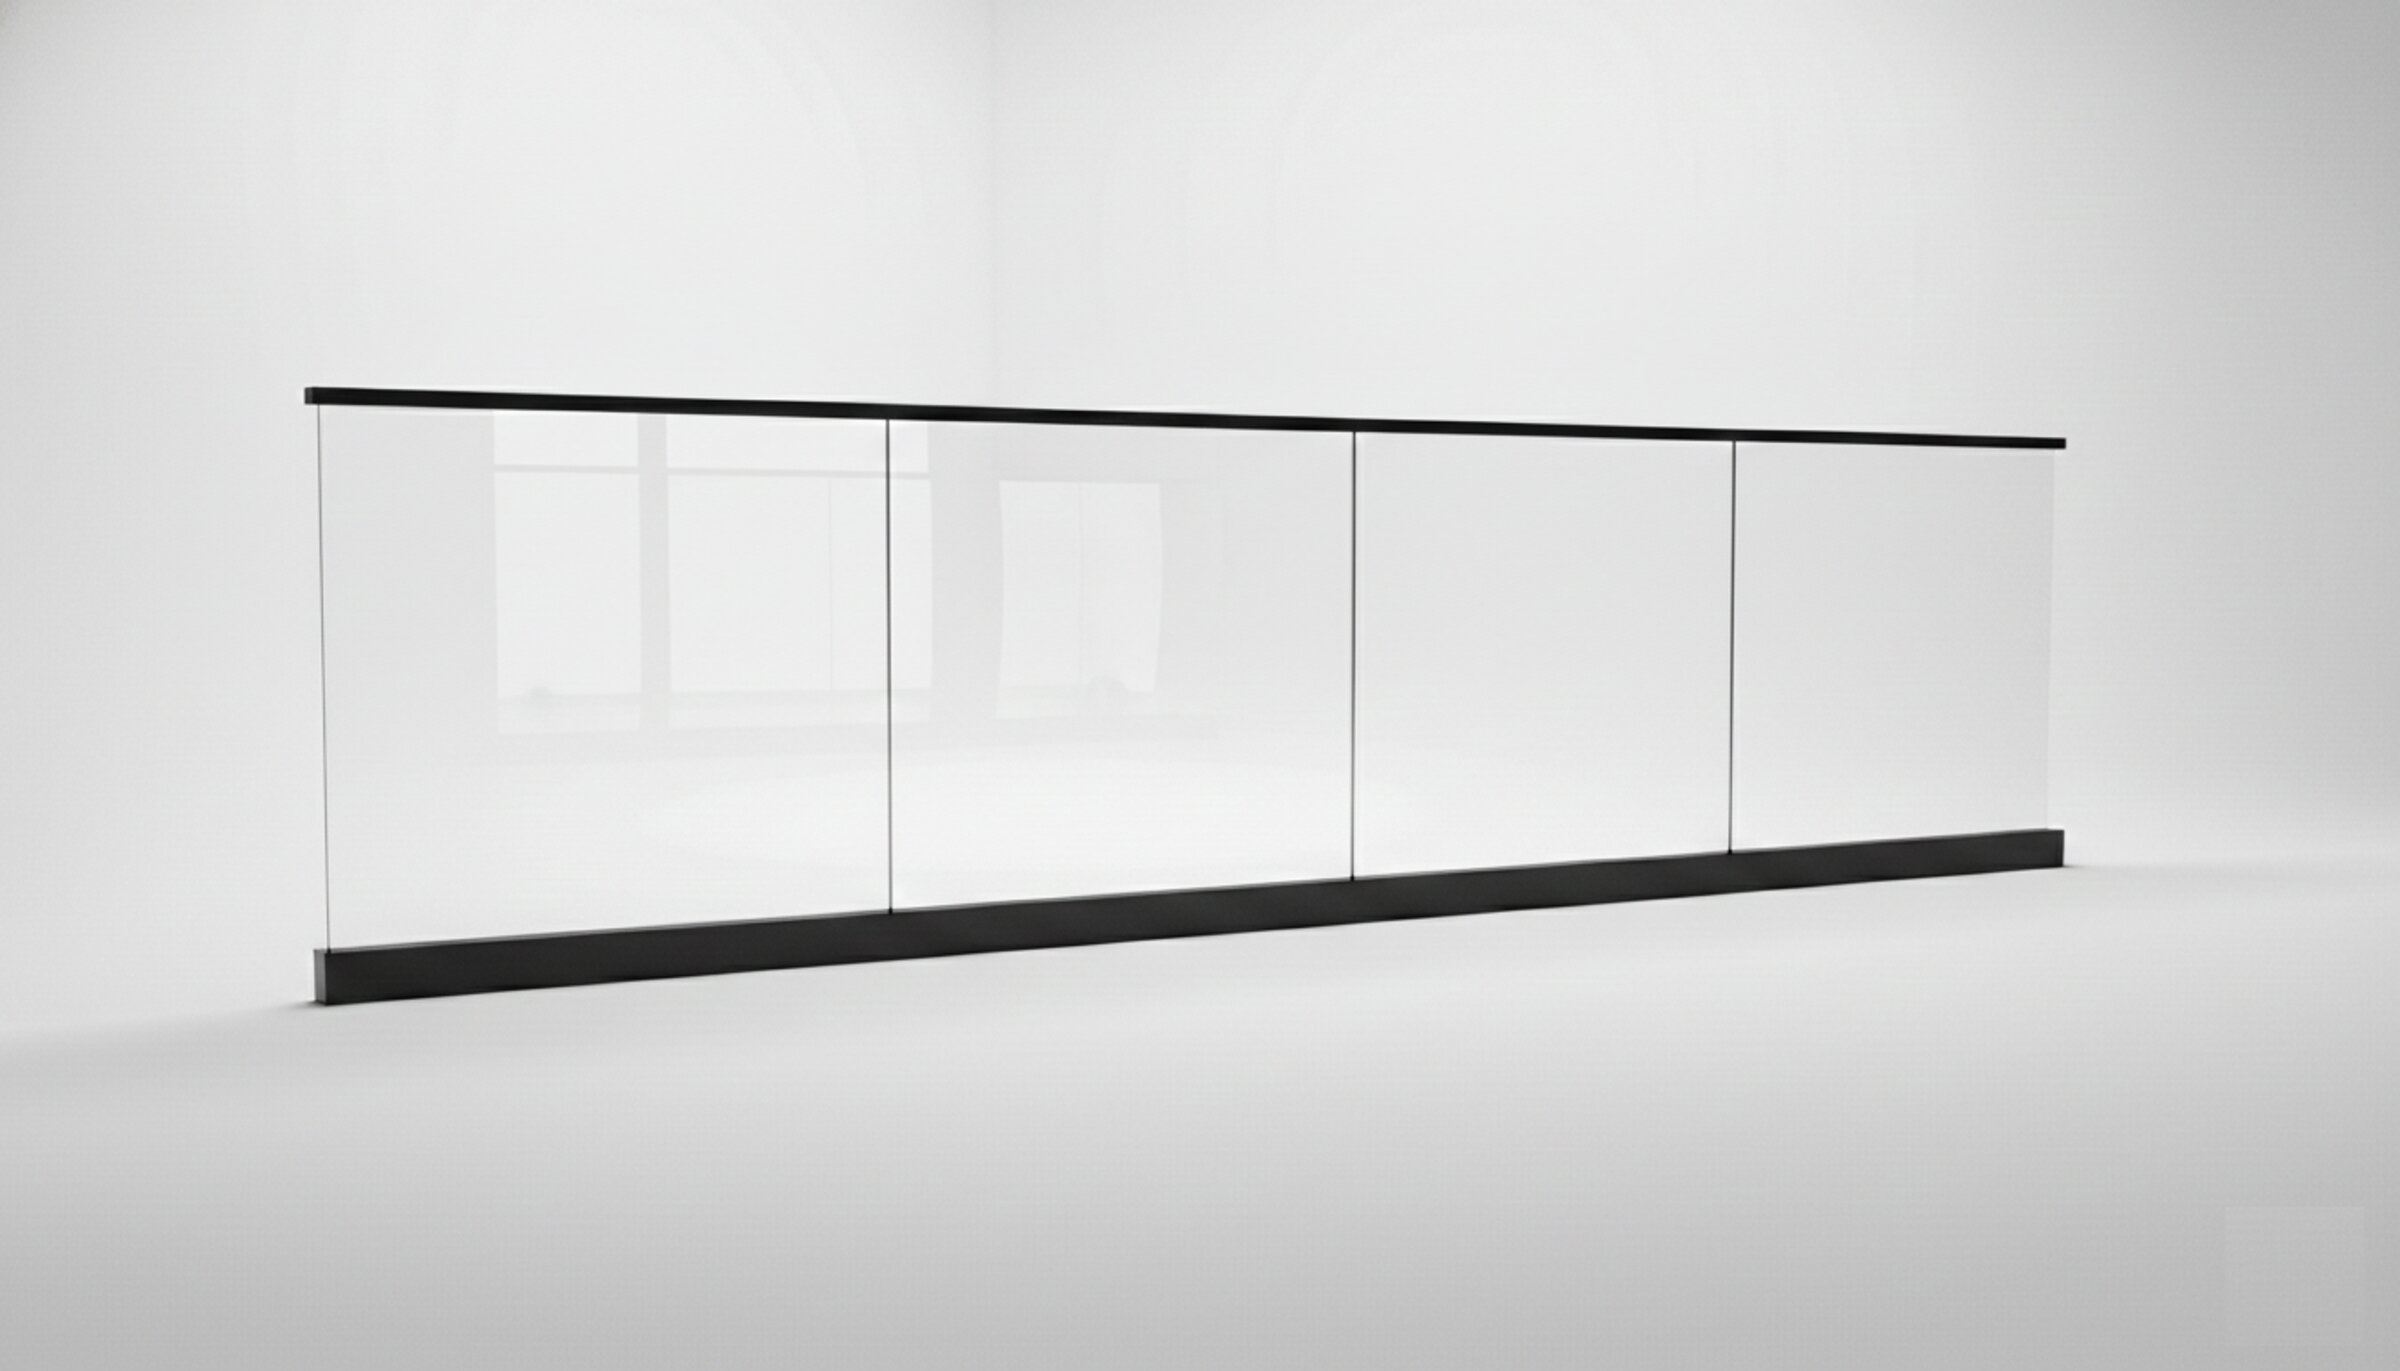
Not every property is a flat rectangle, and irregular lots — slopes, curves, dog-legs, and mixed-grade transitions — present unique challenges for glass fencing. Unlike flexible materials that bend to follow terrain, glass panels are rigid and must be accommodated through smart layout design. The good news: well-planned irregular installations often produce more visually interesting results than simple straight runs. This guide covers proven layout strategies for every common lot irregularity.
Step-by-Step Instructions
Survey and document your lot accurately
Start with a detailed site survey. For irregular lots, a professional survey is essential — estimated measurements lead to expensive re-fabrication. Record all grade elevations along the fence line at 5-foot intervals, mark property corners and setback lines, identify any curves or radius changes, and note obstructions (trees, rocks, utilities, existing structures). For sloped areas, measure the grade change as a percentage or ratio.
Choose your slope accommodation strategy
Glass panels must be installed level (horizontal top edge) or raked (angled to follow slope). For slopes under 5%, stepping (level panels at different heights with transition posts) creates a clean, traditional look. For slopes of 5-15%, raking (angling the panels to follow the grade) provides a more flowing aesthetic but requires custom-cut angled panels. For slopes over 15%, stepped installations are typically the only practical option. Your choice affects panel sizing, post heights, and hardware requirements.
Plan corner and angle transitions
Identify every angle change in your fence line. Standard 90-degree corners use corner posts with glass panels meeting at right angles. For obtuse angles (greater than 90 degrees), custom corner posts or adjustable hardware accommodate the angle. For acute angles (less than 90 degrees, common on pie-shaped lots), glass panels may need to overlap or require specialized point-fitting hardware. Measure each angle precisely with a digital angle finder.
Design curved sections
True curves in glass fencing are achieved through faceted panels — short, straight panels arranged to approximate the curve. The tighter the radius, the shorter each panel must be to create a smooth visual curve. As a guideline: large radius curves (20+ feet) can use 36-48 inch panels; medium radius (10-20 feet) need 24-36 inch panels; tight radius curves (under 10 feet) require 12-24 inch panels. More panels mean more posts and hardware, increasing cost significantly.
Size panels for irregular runs
Unlike straight runs where all panels can be identical, irregular lots typically require multiple unique panel sizes. The goal is to minimize the number of unique sizes while maintaining consistent visual rhythm. Start by setting panel positions at all fixed points (corners, gates, transitions), then divide the remaining runs into equal-width panels. Allow ±2 inches of adjustment per panel for field conditions. Group similar sizes together for fabrication efficiency.
Address mixed-substrate transitions
Irregular lots often have multiple substrate types along the fence line: concrete pool deck transitioning to soil, retaining wall tops, wood deck edges, or pavers. Each substrate requires a different mounting approach. Plan the transition points carefully — where does the base shoe channel end and the core-drilled concrete mount begin? Where does the deck-mounted post transition to a ground-mounted post? Each transition needs specific engineering detail.
Create a dimensioned layout drawing
Compile all measurements, angles, and design decisions into a dimensioned plan-view drawing. Include: property lines and setbacks, all post locations with spacing dimensions, panel widths and heights, grade elevations at each post, angle measurements at every direction change, gate locations and swing direction, substrate types and transition points, and notes on any special conditions. This drawing becomes the basis for engineering and fabrication.
Review the layout with your installer and engineer
Before finalizing, review the layout with both the installing contractor and the structural engineer. The installer can identify constructability issues — access constraints, equipment limitations, and sequencing challenges specific to your site. The engineer will verify that panel sizes, post spacing, and mounting details meet structural requirements. This collaborative review prevents costly field changes and ensures the final installation matches the design intent.
Frequently Asked Questions
Can glass fencing follow a curved property line?
Yes, glass fencing can approximate curves using short straight panels arranged in a faceted layout. The visual result depends on panel width and curve radius — shorter panels create smoother-looking curves. True curved glass panels (bent glass) are possible but prohibitively expensive for fencing applications, costing 3-5x more than flat panels. Faceted curves are the standard approach and produce excellent visual results.
How does slope affect glass fence cost?
Sloped installations typically cost 15-30% more than flat installations of the same linear footage. The additional cost comes from: custom-sized panels (each panel may be a unique height), taller posts on the downhill side, stepped or raked layout engineering, and increased installation labor for leveling and alignment on grade. Steeper slopes cost more than gentle grades.
What is the minimum panel width for glass fencing?
The practical minimum panel width is approximately 12 inches, though most manufacturers prefer a 16-18 inch minimum for structural reasons. Very narrow panels are used primarily in tight-radius curves and odd-width fill sections. Below 12 inches, the hardware connections become disproportionately large relative to the glass area, and the visual effect shifts from glass fencing to glass accents between posts.
Can glass fence panels be cut at an angle?
Yes, tempered glass panels can be custom-cut to any angle before the tempering process. Angled cuts are used for raked (sloped) installations where the panel top follows the grade, and for panels meeting walls or other structures at non-perpendicular angles. All cutting must be done before tempering — tempered glass cannot be modified after heat treatment.